How Long to Spit Roast a Chicken: Complete Timing Guide
For a standard 1.8kg chicken, spit roasting requires approximately 50 to 55 minutes at a grill temperature of 180°C. This produces an internal temperature of 75°C in the thickest part of the thigh, the FSANZ minimum for safe poultry without overcooking the breast.
The constant rotation distributes heat evenly while self-basting occurs as fat renders from the skin. The result is crispy skin and juicy meat that stationary oven roasting cannot replicate. The most common failure point is pulling the chicken at visual doneness rather than measured internal temperature: the breast browns fully 15 to 20 minutes before the thigh reaches 75°C.
Key Takeaways
- Standard timing formula is 25-30 minutes per kilogram at 180°C grill temperature
- Internal temperature target is 75°C measured in the thickest part of the thigh
- Resting time before carving is 10-15 minutes minimum
- A 1.5kg chicken requires approximately 40-45 minutes
- A 2kg chicken requires approximately 55-60 minutes
- Basting every 20 minutes maintains moisture throughout cooking
- Brining the chicken overnight reduces cooking time by approximately 5-10%
Why Spit Roasting Produces Crispier Skin and Juicier Meat
The timing figures above assume a correctly prepared and mounted chicken at ambient temperature. The section below explains what happens physically during the cook, why rotation affects timing, and why internal temperature is the only reliable doneness indicator.
How Spit Rotation Affects Cooking Time
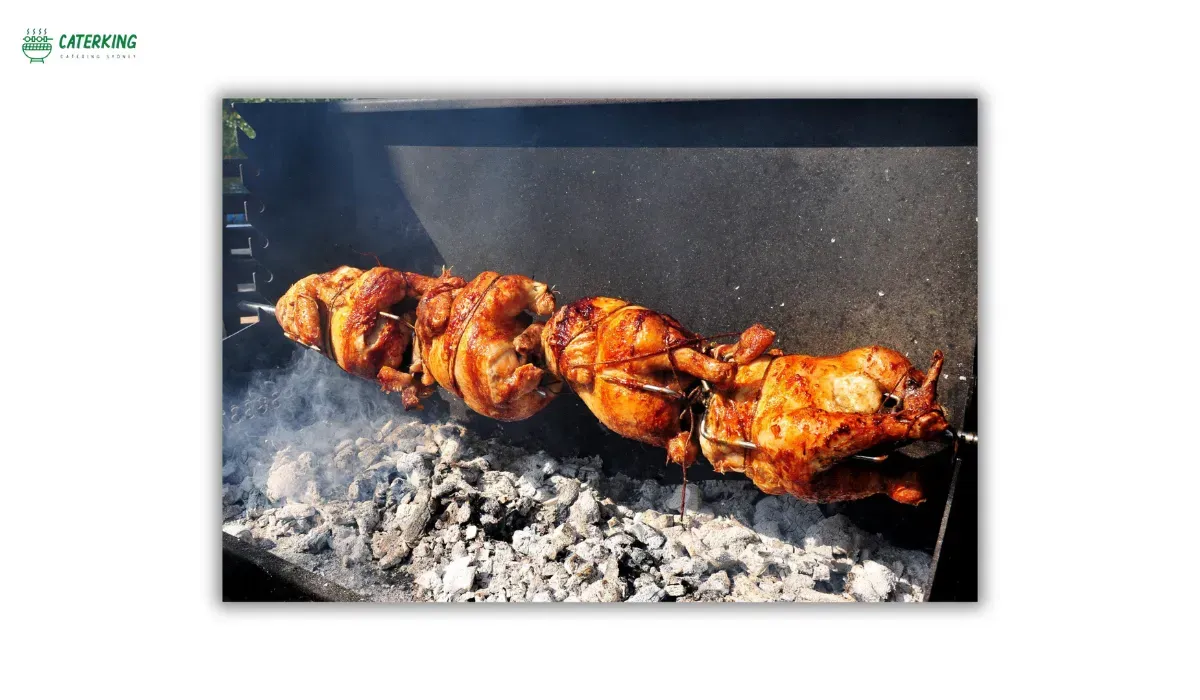
Spit roasting involves mounting the chicken on a rotating metal rod suspended over a heat source. The rotation ensures every surface receives equal heat exposure, eliminating the differential heating between exposed and protected areas that occurs in stationary oven roasting.
As the chicken rotates, rendered fat from the skin runs across the surface rather than dripping straight down continuously basting the bird without any external intervention. This self-basting mechanism is what keeps spit-roasted chicken moist while the skin crisps progressively on all sides.
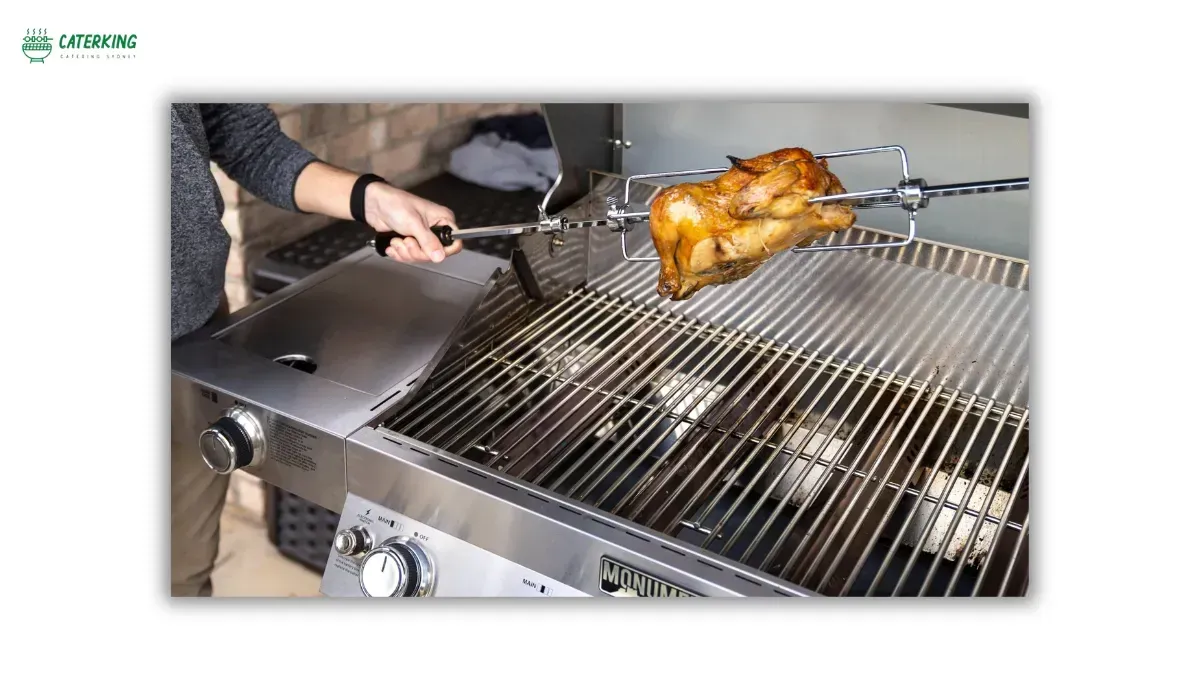
On a gas BBQ with a rotisserie attachment, the Weber Q rotisserie kit and equivalent Barbeques Galore models are the most common in Australian backyards, the motor provides consistent rotation at a speed that keeps the self-basting effective without spinning fast enough to fling the fat. Charcoal kettle grills require a separate rotisserie kit that mounts to the grill body; the Jumbuck range at Bunnings is the most accessible entry point for charcoal spit roasting in Australia.
The Golden Rule: How Long to Spit Roast Chicken by Weight
Weight-based timing provides the foundation for spit roast planning. The following chart represents standard timing at a grill temperature of 180°C for a fully thawed chicken at refrigerator temperature (approximately 4°C) when placed on the spit.
Timing Chart: Minutes Per Kilogram
| Chicken Weight | Total Cooking Time | Temperature |
|---|---|---|
| 1.0-1.2kg | 30-35 minutes | 180°C |
| 1.3-1.5kg | 40-45 minutes | 180°C |
| 1.6-1.8kg | 45-55 minutes | 180°C |
| 1.9-2.2kg | 55-65 minutes | 180°C |
| 2.3-2.5kg | 65-75 minutes | 180°C |
| 2.5-3.0kg | 75-90 minutes | 180°C |
These times apply to chickens at refrigerator temperature (4°C). A chilled chicken from the refrigerator requires the full time listed. A chicken at room temperature (20°C) reduces timing by approximately 10-15%.
Variables That Affect Cooking Time
Several factors adjust the base timing formula. Understanding these variables allows accurate timing adjustments rather than relying solely on weight calculations.
Starting temperature affects cooking time significantly. The temperature differential between the grill (180°C) and the chicken (4°C for refrigerator, 20°C for room temperature) determines how quickly the interior heats. Each 5°C increase in starting temperature reduces cooking time by approximately 5%.
Stuffing the cavity increases cooking time because the stuffing acts as thermal mass that absorbs heat from the surrounding meat. A stuffed chicken requires an additional 15-20 minutes compared to an empty cavity.
Wind conditions on outdoor grills affect temperature consistency. Strong wind reduces grill temperature, extending cooking time by up to 15%. Using wind shields around the grill maintains temperature stability.
Chicken quality influences timing through fat content and meat density. Corn-fed chickens with higher fat content cook slightly faster because fat conducts heat more efficiently. Free-range chickens with denser muscle tissue require additional time.
Temperature Guide: Achieving the Perfect Internal Heat
Time provides an estimate; temperature provides certainty. Relying solely on timing produces inconsistent results because grill temperatures, chicken starting temperatures, and chicken sizes vary. Temperature measurement eliminates guesswork.
Safe Internal Temperature for Chicken
The safe internal temperature for chicken is 75°C as measured at the thickest part of the thigh muscle. This temperature ensures elimination of Salmonella and Campylobacter bacteria that pose food safety risks in undercooked poultry.
The breast requires a lower temperature of 65-68°C for optimal texture. However, targeting the thigh temperature ensures the breast, which cooks faster, reaches safe levels automatically. The thigh contains the densest muscle mass and requires the longest heat penetration.
Temperatures above 80°C begin degrading protein structures, resulting in dry, stringy meat. The optimal window is 75-78°C. Staying within this range produces chicken that is both safe and juicy.
Where to Measure Temperature
The thermometer placement determines whether your reading reflects actual doneness. Incorrect placement produces readings that misrepresent the actual state of the chicken.
Insert the thermometer probe into the thickest part of the thigh muscle, avoiding bone contact. Bone conducts heat differently than meat and produces inaccurate readings. The probe should reach the centre of the muscle mass for a true reading.
The breast is not the correct measurement location despite reaching higher temperatures faster. Measuring breast temperature produces readings that suggest doneness before the thigh has reached safe temperatures.
Check temperature at the start of the final 10 minutes of estimated cooking time. If the thigh has not reached 75°C, return the chicken to the spit and continue roasting, checking every 10 minutes until the target temperature is achieved.
Step-by-Step: How to Put Chicken on Rotisserie Spit
Proper spit mounting ensures the chicken rotates evenly without wobbling or imbalance. An improperly mounted chicken creates vibration that damages the rotisserie motor and produces uneven cooking.
Preparing the Chicken for Spit Roasting
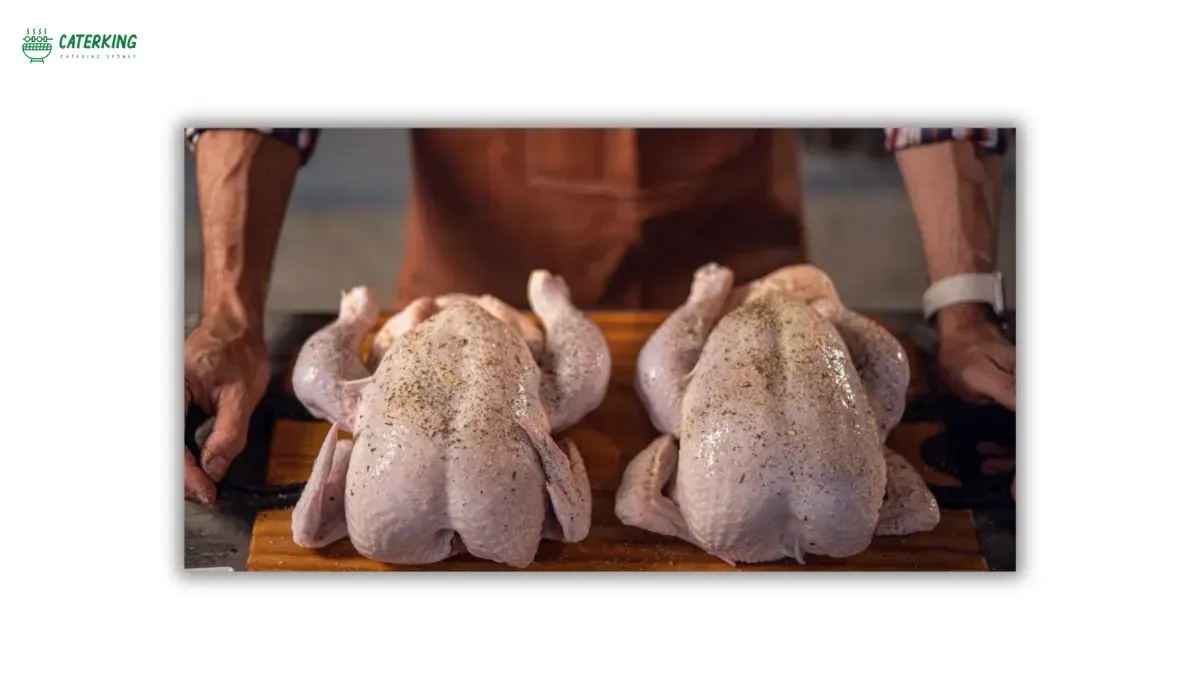
Remove the chicken from packaging and discard the neck and giblets stored inside the cavity. Pat the chicken dry thoroughly with paper towels. Moisture on the skin prevents browning and produces steamed rather than roasted results.
Truss the chicken by tying the legs together with kitchen twine and tucking the wing tips under the body. This compact shape ensures the chicken fits within the grill's space and rotates without catching on grill components.
If the chicken has not been brined (see Section 5), season the cavity with salt and pepper. Adding aromatics such as half a lemon, a few garlic cloves, or fresh herbs enhances flavour without complicating the process.
Securing the Chicken on the Spit
Locate the rotisserie forks that came with your grill. These forks contain prongs that penetrate the chicken and secure it to the spit. Most rotisserie kits include two forks: one for each end of the bird.
Slide the spit through the cavity from tail to neck, ensuring it exits through the neck opening. The spit should pass through the natural cavity without requiring force. Forcing the spit damages the chicken and creates alignment problems.
Push the first fork (the securing fork) onto the spit from the tail end. Insert the fork prongs into the chicken breast, penetrating the meat and exiting through the back. Ensure the fork seats firmly against the chicken body.
Adjust the chicken position so the breast faces down and the back faces up. This position allows fat to render from the back and bastes the breast during rotation. The natural curve of the chicken back faces upward, creating a slight tilt that encourages even rotation.
Push the second fork onto the spit from the neck end. Insert these prongs through the neck skin and into the breast meat. The fork should hold the chicken firmly against the first fork, creating a secure unit.
Tighten the forks using the securing screws or wing nuts. Loose forks allow the chicken to shift during rotation, creating balance problems and potential motor damage.
Balancing the Spit for Even Cooking
Balancing the spit prevents vibration and motor strain. An unbalanced spit wobbles during rotation, causing uneven cooking and potential equipment failure.
With the chicken mounted, hold the spit level horizontally and release. The heavy end will drop. Add counterweight to the lighter end by repositioning the forks or adding small weights to the spit.
The goal is neutral balance where neither end drops when released. Minor imbalance is acceptable; significant imbalance stresses the motor and produces poor results.
Insert the spit into the rotisserie motor housing and ensure the spit rests in the rollers at both ends. Activate the motor and observe the rotation. Smooth, vibration-free rotation indicates proper balance. Excessive wobble requires rebalancing.
Spit Roast Chicken Preparation Techniques
Preparation before roasting determines the difference between adequate and exceptional results. These techniques require advance planning but produce meaningful improvements in flavour and texture.

Brining for Moisture
Brining involves soaking the chicken in a salt solution before cooking. The salt penetrates the muscle tissue through osmosis, where it binds water molecules and retains them during cooking. The result is chicken that stays moist despite the heat of spit roasting.
To prepare a basic brine, dissolve 180g of salt in 1 litre of water at room temperature. For enhanced flavour, add sugar, peppercorns, bay leaves, and garlic to the solution. Cool the brine completely before adding the chicken.
Submerge the chicken in the brine solution and refrigerate for 8-24 hours. Longer brining produces deeper penetration but risks over-salting. The 12-hour mark represents the sweet spot for most chicken sizes.
After brining, remove the chicken, rinse briefly under cold water, and pat completely dry. The surface salt concentration after brining may be higher than desired; rinsing reduces this concentration while retaining internal moisture.
Brined chickens cook approximately 5-10% faster than unbrined chickens of the same weight because the increased moisture content conducts heat more efficiently. Adjust timing accordingly.
Seasoning and Rubs
Seasoning applied to the skin creates the flavour layer that distinguishes excellent spit roast chicken from bland results. The skin itself does not absorb flavour easily, so seasoning works best when applied to the meat beneath the skin.
Loosen the skin over the breast and thighs by sliding your fingers between the skin and meat. Push softened butter, herb butter, or flavoured oil beneath the skin. This technique delivers flavour directly to the meat while keeping the skin crisp.
Apply dry rubs to the outside of the skin. A basic rub combines salt, pepper, garlic powder, and paprika. For enhanced flavour, add cumin, coriander, or herbs such as thyme and rosemary. Apply the rub 2-4 hours before cooking and allow it to penetrate the skin.
Compound butter beneath the skin represents the most effective flavour delivery method. Mix softened butter with minced garlic, fresh herbs, and lemon zest. Push portions beneath the skin over the breast and thighs before mounting on the spit.
Stuffing Options
Stuffing the cavity adds flavour but increases cooking time. The cavity space, normally empty, contains air that heats slowly. Filling this space with stuffing accelerates heat penetration into the cavity area.
Simple cavity stuffing includes halved lemons, garlic bulbs, onions, or fresh herb bunches. These items flavour the meat from the inside without significantly affecting cooking time.
Bread-based stuffings increase cooking time substantially because the bread absorbs moisture and heat. If using bread stuffing, add 15-20 minutes to the estimated cooking time and ensure the stuffing reaches 75°C internally.
Stuffing is optional. An empty cavity produces excellent results and reduces preparation complexity. Many pit masters prefer the empty cavity method for simplicity and consistency.
Spit Roast Chicken on Gas BBQ: Australian Setup Guide
Gas BBQs dominate Australian outdoor cooking, and most include rotisserie capability or rotisserie mounting points. Understanding the specific setup requirements for Australian gas BBQs ensures optimal results.
Preheating the Grill
Preheat the grill for 15-20 minutes with all burners on before mounting the chicken. This preheating stabilises temperature and eliminates cold spots that cause uneven cooking.
Set the burners to medium-high for indirect cooking. The chicken should not sit directly above any burner. Position the burners on either side of the chicken's position to create indirect heat that surrounds the meat.
For rotisserie setups, light the burners on both sides of the cooking area while leaving the centre burners off. The chicken rotates over this unlit centre area, receiving reflected heat from the side burners.
Close the lid during roasting to maintain consistent temperature and contain heat. Opening the lid releases heat and extends cooking time. Check progress through the viewing window rather than lifting the lid.
Australian Gas BBQ Considerations
Australian gas BBQs commonly feature 3-5 burners in various configurations. Understanding your specific burner layout determines optimal rotisserie positioning.
Side burner positioning affects rotisserie capability. Some BBQ designs position the side burner where the rotisserie motor would conflict. Ensure your BBQ's design accommodates the rotisserie before
purchasing if rotisserie capability is important.
Natural gas versus LPG affects temperature output. Natural gas burns at lower temperature than LPG, extending cooking time by approximately 10-15%. If using natural gas, add time accordingly or increase heat settings.
Wind protection improves consistency during breezy conditions. Australian conditions often include afternoon breezes that cool the grill surface. Position the BBQ against walls or use wind shields to maintain temperature stability.
Troubleshooting Common Spit Roast Chicken Problems
Even with proper preparation, spit roast chicken sometimes produces unexpected results. These solutions address the most common problems encountered.
Skin Not Crisping
Crispy skin requires dry skin surface before cooking and sustained dry heat during roasting. Moisture prevents the Maillard reaction that creates golden, crisp skin.
The cause is typically insufficient drying before roasting or excessive moisture from the grill. Pat the chicken dry multiple times before mounting. Ensure the grill is fully preheated and at temperature before adding the chicken.
For skin that remains soft, finish the chicken under a high broiler (grill) for 5-10 minutes after removing from the spit. Position the chicken under the broiler element without the spit, monitoring constantly to prevent burning.
Uneven Cooking
Uneven cooking results from improper balance, incorrect heat positioning, or temperature variation across the grill surface.
Rebalance the chicken on the spit if uneven cooking occurs. The heavier side cooks slower. Shift the chicken position on the spit or add small weights to the lighter side.
Ensure the chicken sits in the indirect heat zone, not directly above a burner. Direct heat creates hot spots that char one area while leaving others undercooked.
Temperature variation across the grill surface causes uneven results in gas BBQs with only some burners functioning. Test temperature at multiple points using a surface thermometer and adjust burner configuration accordingly.
Dry Meat
Dry meat indicates either overcooking or insufficient moisture retention. Both problems have distinct solutions.
Overcooked chicken loses moisture through protein denaturation. Check temperature earlier in the estimated cooking window and monitor closely toward the end. Remove the chicken as soon as the thigh reaches 75°C.
Insufficient moisture retention results from skipping the brining step or failing to baste. Brining significantly improves moisture retention. Basting every 20 minutes throughout cooking replaces lost moisture and maintains juiciness.
Starting with a higher-quality, higher-fat chicken improves moisture retention. Corn-fed or free-range chickens with adequate fat content produce more juicy results than lean supermarket chickens.
Chicken Sticking to the Spit
Chicken sticking to the spit prevents proper rotation and creates balance problems. This issue typically results from inadequate lubrication or improper mounting.
Lubricate the spit with cooking oil before mounting the chicken. The oil prevents meat from fusing to the metal during cooking. Apply a thin coating along the entire spit length that will contact the chicken.
Ensure the spit passes freely through the cavity without forcing. Forced mounting damages the meat and creates contact points that stick during cooking. The spit should slide through easily.
If sticking occurs during cooking, carefully remove the chicken, clean the spit, re-lubricate, and remount. Prevention is more effective than correction.
Spit Roast Chicken FAQs
For events requiring professional spit roast results without the equipment investment, explore spit roast catering options that deliver perfectly cooked rotisserie chicken to your location, handling all preparation and cooking while you focus on your guests.
How long does it take to spit roast a 2kg chicken?
A 2kg chicken requires approximately 55-60 minutes on a rotisserie at 180°C grill temperature. Using the formula of 25-30 minutes per kilogram, a 2kg chicken falls in the 50-60 minute range. Verify doneness using a meat thermometer targeting 75°C in the thigh muscle.
What temperature should spit roast chicken be?
Spit roast chicken should reach an internal temperature of 75°C in the thickest part of the thigh muscle. This temperature ensures food safety by eliminating harmful bacteria. The breast typically reaches 65-68°C, which is sufficient for texture but the thigh temperature is the critical measurement.
Do you baste a spit roast chicken?
Yes. Basting every 20 minutes throughout cooking maintains moisture and enhances flavour. Use a basting brush to apply melted butter, pan drippings, or marinade to the chicken skin. The rotation distributes the baste evenly across all surfaces. This step is optional but produces meaningfully superior results.
How do you keep a spit roast chicken moist?
Keeping spit roast chicken moist involves brining before cooking, basting during cooking, and removing from heat at precisely 75°C internal temperature. Brining increases moisture retention by up to 30%. Basting replaces moisture lost to evaporation. Avoiding overcooking preserves the moisture that remains in the meat.
How do you know when a spit roast chicken is done?
A meat thermometer provides the definitive answer: the chicken is done when the thickest part of the thigh reaches 75°C. Visual indicators include clear juices running from the thigh when pierced and leg joints that move freely when wiggled. However, temperature measurement removes all uncertainty.
Should you put butter under the skin of a spit roast chicken?
Placing butter under the skin of a spit roast chicken is an effective technique for adding flavour and moisture. Loosen the skin over the breast and thighs, then push softened compound butter beneath. The butter melts during cooking, basting the meat from the inside while keeping the skin crisp.
How long should chicken rest after roasting?
Chicken should rest for 10-15 minutes after spit roasting before carving. Resting allows the muscle fibres to relax and reabsorb juices that pushed toward the surface during cooking. Carving immediately causes these juices to run out, resulting in dry meat. Tenting the chicken with foil during resting keeps it warm.
Can you spit roast a frozen chicken?
Spit roasting a frozen chicken is not recommended because the frozen exterior prevents proper seasoning adherence and extends cooking time unpredictably. Thaw the chicken completely in the refrigerator for 24-48 hours before spit roasting. A fully thawed chicken at refrigerator temperature produces consistent, predictable results.
Let Catering Sydney elevate your catering experience - Get in touch with us now!
You might also like